Email Schedules
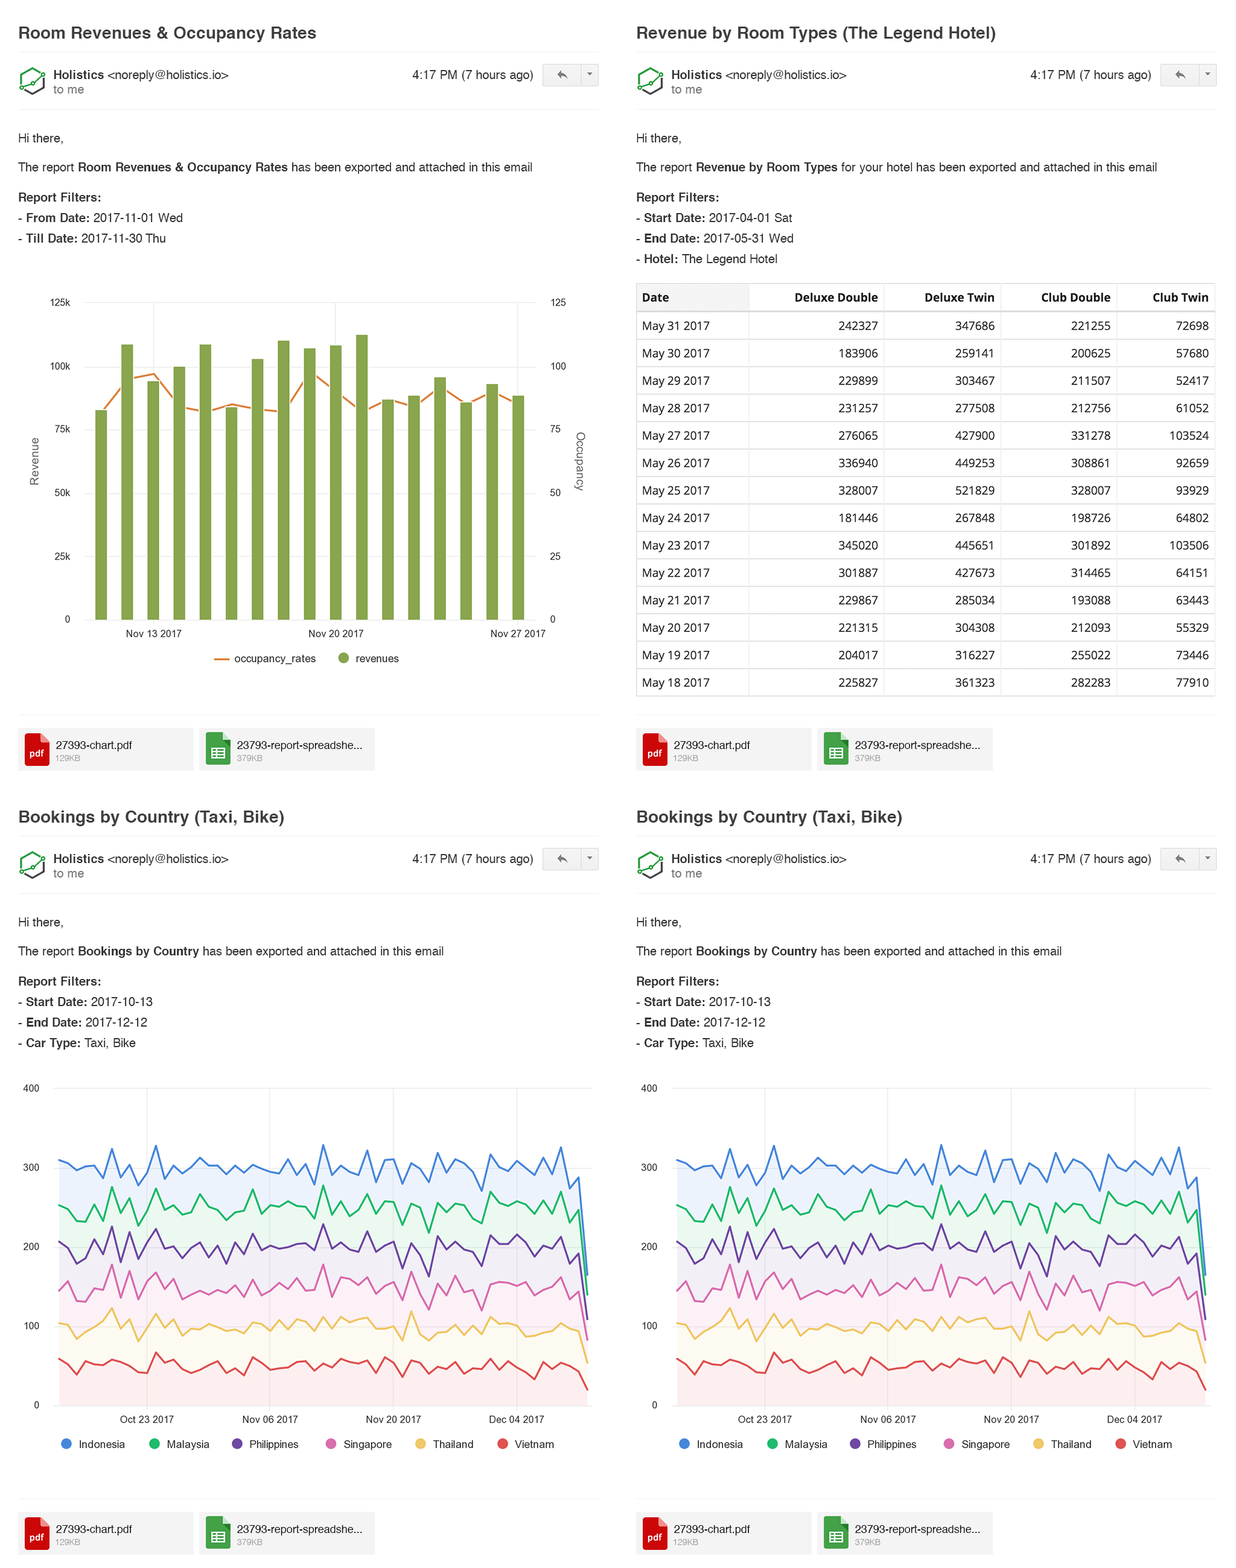
Email Schedules allow admins/analysts to schedule a report/dashboard to be sent to a group of recipients via email. The feature can apply to multiple use cases such as:
- Daily summary metrics email to send to management team every morning.
- Weekly export of data via email to multiple external partners outside of your company (with each partner only see their own data).
- Email alert so you get email notification when something wrong happens.

Data Freshness
Email Schedule always uses updated data from the user's database and bypasses cached data to ensure the most up-to-date data. It does not fetch data from our cache.
Delivery Timing
Email Delivery
- Email schedules may not arrive at the exact scheduled timing due to query execution time, but we use a reliable third-party email service to deliver email. If for some reason when sending the email we cannot reach the 3rd-party service, we retry up to 3 times before raising an error.
Monthly Reports
- If you plan to send monthly reports at the end of each month (i.e. 30th or 31st of every month), the email schedule will not trigger on months without that date (e.g. email scheduled for the 31st of each month will never send in February)
- We instead recommend that you send such reports on the 1st of each month and set the date filter to
last month begin to last month end.
Managing Email Schedules
You can manage email schedules 2 ways:
- Individual Dashboard: In the dashboard view page, click on Export > Schedule Exports . This includes all types of export schedules.
 You can also go to **Dashboard Preferences > Schedules** then select **Send All** to immediately send all email schedules, or **New Schedule** to create new email schedule.
All Dashboard Schedules: Click on the Tools icon > Schedules. Then select Email Schedules tab.
To manage invidual schedule, click on the icon in the corresponding email schedule. Select Job History to see past email schedules and Manage Recipients to see recipients to add / remove recipients accross all email schedules.
Setting Up Email Schedule
To setup email schedule for a dashboard, in the dashboard view page, click on Export > Schedule Export

You'll see the following form:

Required Information
In order to set up your email schedule, you need to fulfill the following information:
- Recipients: List of email addresses (separated by commas ,)
- Exported Widget: Click on the drop-down box, and choose specific widgets that you want to export or choose All to export the whole dashboard.
- Frequency: Select your scheduling frequency here (every X hours, daily, weekly, monthly, etc)
- Attachments: You can attach your dashboards as PNG/PDF/CSV/Excel (.xlsx)/Inline widgets.
- Filters: You can modify the filter conditions prior to sending out each email. You can only modify filters that have been created for the dashboard. Modifying the filter conditions will not affect the main dashboard.
- Customize Email Content: Edit Email Subject and Email Body. If you leave the subject blank, we will use the title of dashboard as default. You can use 2 dynamic variables:
{{$today}},{{$yesterday}}. Refer to Dynamic Variable Support for more information. - Advanced Settings:
- Include link to Dashboard: By checking this box, you can include link to Dashboard in your email as well. Do note that only users with a Holistics user account and have access to the dashboard itself will be able to access the link.
- Show dashboard filters: You can show/hide the filter values of the email schedule in the email's body.
Dynamic Variables Support
We support 2 variables {{$today}}, {{$yesterday}} that you can pass in the email body and subject. This helps you easily keep track the date the email is sent.
Example: A subject like this Sales report for {{$today}} will become Sales report for 2018-05-8 Tue when it is sent
Setting Sender Name & Email Address
We allow customizing sender name and address of these scheduled email. You can find this in Admin Settings.